In order to display posts within this module, you have to create blog posts in the corresponding section of the admin panel. Check the Blog post creation section of the theme documentation for more information.
This module is used in beta version, and is being under development now.
It allows to display single post in the carousel which consists of top and bottom container.
The single posts and their number can be set directly in the module settings.
General settings
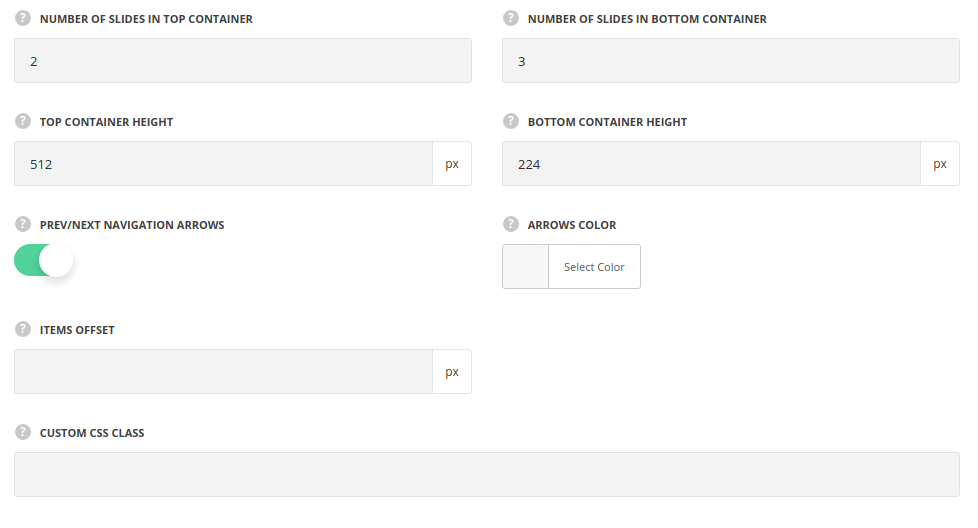
- Number of slides in top container – select the number of slides to be show in top part of module. You may set from 2 to 4 slides.
- Number of slides in bottom container – select the number of slides to be show in bottom part of module. You may set from 3 to 5 slides.
- Top container height – set the height of the top container in px.
- Bottom container height – set the height of the bottom container in px.
- Prev/next navigation arrows – set it to Enable to display the navigation arrows for the module.
- Arrows color – set the color for the navigation arrows in the module.
- Items offset – set the space between the single posts in module in px.
- Animation – choose between 14 preset animation effects.
- Custom CSS class – enter our own unique class name for the item – this is a useful option for those who want to create a specific style. E.g.: you can type custom-style class and then go to
Theme optionsGeneral optionsCustom CSS/JSCustom CSSfield and write your own CSS code with this class to get your own style.
Animation

- Animation – choose between 14 preset animation effects.
Top/Bottom Container settings

- Custom CSS class – enter our own unique class name for the item – this is a useful option for those who want to create a specific style. E.g.: you can type custom-styleclass and then go to
Theme optionsGeneral optionsCustom CSS/JSCustom CSSfield and write your own CSS code with this class to get your own style.
Post item settings
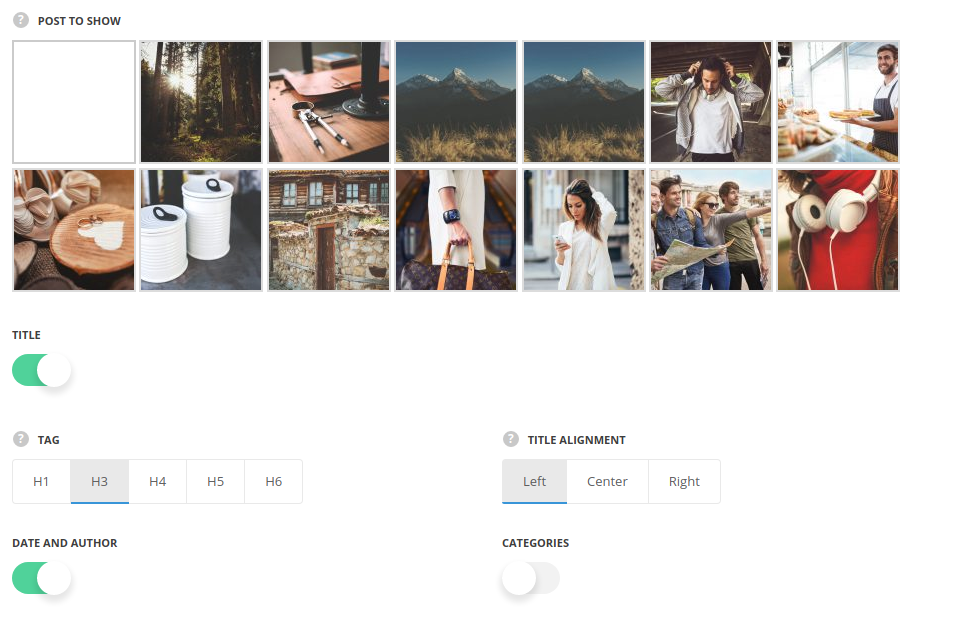
- Post to show – select the single post to be shown in the module.
- Title – set it to Enable to display the single pots’s title.
- Tag – select the tag for title typography.
- Title alignment – select the horizontal alignment for the title. Left, right and center positions are available.
- Date and author – set it to Enable to display the date of publication and author of the post.
- Categories – switch it to Enable to display the categories assigned for the post.
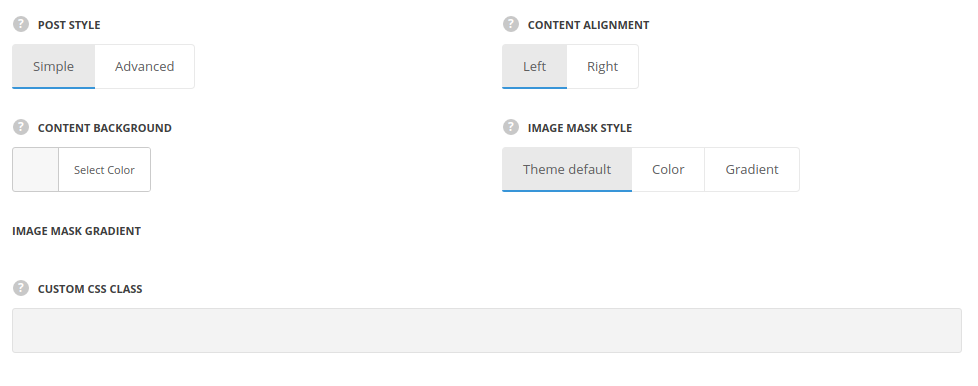
- Post style – choose the blog style.
- Simple – the post content will be displayed near the post featured image.
- Content alignment – select the horizontal alignment for the blog content. Left and right positions are available.
- Content background – set the background color for the content. The default value is #f4f4f4.
- Advanced – the post content is set over the post’s featured image.
- Mask by default – set it to Enable to display the mask effect by default.
- Image mask style – select the style for the mask.
- Color – select this style to set the simple color for the mask.
- Image mask color – set the color for the image mask. The default color is rgba(27,27,27,0.5)
- Gradient – select this style to set the gradient color for the mask.
- Simple – the post content will be displayed near the post featured image.
- Custom CSS class – enter our own unique class name for the item – this is a useful option for those who want to create a specific style. E.g.: you can type custom-style class and then go to
Theme optionsGeneral optionsCustom CSS/JSCustom CSSfield and write your own CSS code with this class to get your own style.
