This options section allows you to style the general appearance of the WooCommerce elements on the site.
The Woocommerce plugin is required to be installed and activated in order to be able to customize Woocommerce elements.
Woocommerce main options
In this section, you’ll be able to adjust main settings for Woocommerce elements.

- Shop top link source – set the page or custom link which will be used for the button placed next to the categories and tags drop-down on shop page.
- Page – allows you to select the page from the existing ones on your site to be set as your main shop page.
- Shop page – select the page which will be used as main gallery page from the drop-down list.
- Custom URL – allows you to set the custom link for the shop page.
- Shop page URL – enter the link which will be used as the main shop page.
- Page – allows you to select the page from the existing ones on your site to be set as your main shop page.
- Shop Title – enter the title for your shop page.
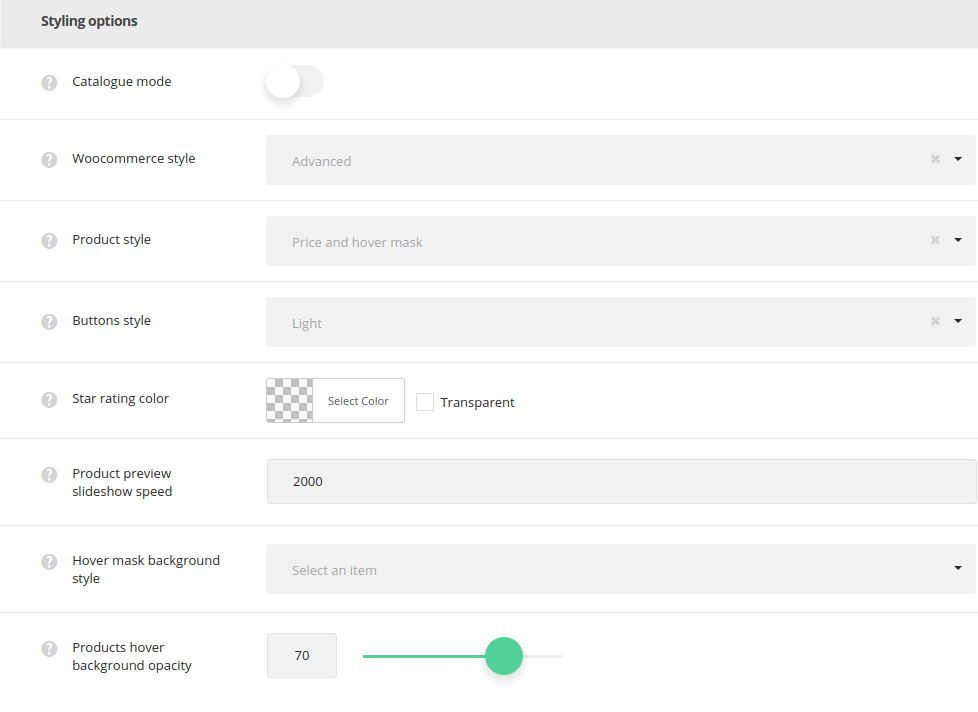
Styling options
-
Catalogue mode – set it to Enable to use shop as a catalog (with no prices and option to buy products).
- Woocommerce style – select the styles for the woocommerce pages. Advanced and old styles are available. Advanced allow to edit the WooCommerce category pages. Check the examples of advanced style and old style.
- Product style – select the type of products display.For Advanced style only:
- Standard – displays title, meta, rating below the thumbnail and buy & preview buttons appear on hover.
- Price and hover mask – thumbnail image appears by default with price appearing on hover.
- Hover mask – thumbnail image appears by default with title, description, rating and buttons appearing on hover.
- Buttons style – set whether you want to have Light or Dark buttons. For Advanced style only.
- Star rating color – choose the color for the stars shown in the product rating.
- Product preview slideshow speed – set the speed of the thumbnails slideshow on hover in milliseconds.
- Hover mask background style – choose the background style for the hover mask (available for Price and hover mask and Hover mask Product style).For Advanced style only.
- Simple – select this style to have one color for the product hover on shop page.
- Mask background color – select the background color for the hover mask.
- Gradient – select this style to have the gradient style for product hover.
- Background gradient – choose the start and end color for the hover mask gradient color for shop page.
- Simple – select this style to have one color for the product hover on shop page.
- Products hover background opacity – set the transparency of the background overlay.
Woocommerce category options
These options allow you to style the WooCommerce archive pages of your site – it’s the default Shop page generated by WooCommerce plugin. For Advanced style only!
Layout settings
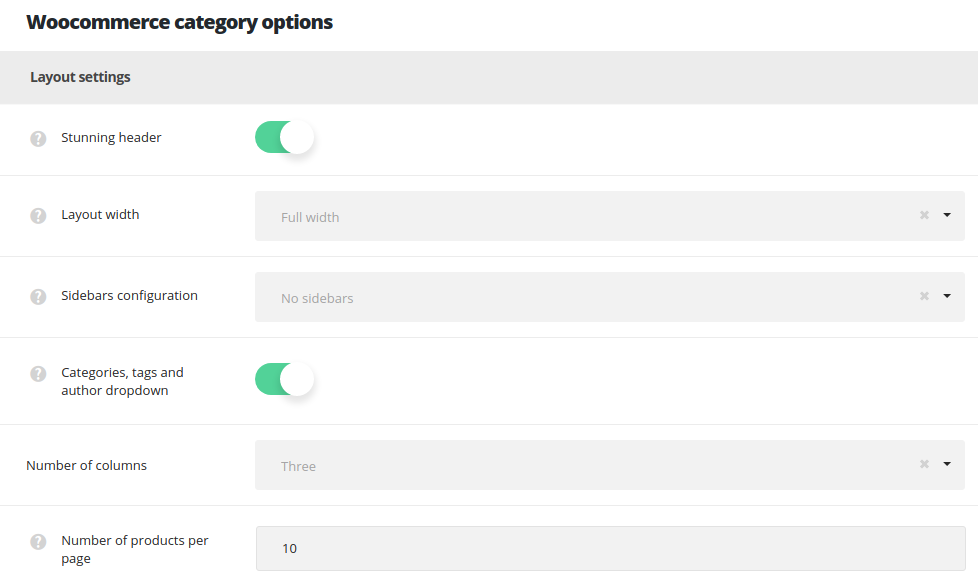
- Stunning header – switch it to Enable to have the stunning header on archive WooCommerce pages by default. It inherits the settings from
Theme optionsHeader optionsStunning header optionssection. - Layout width – set the archive shop page content width. Boxed and full width variants are available.
- Sidebar configuration – set the sidebars to be shown on the blog page. No sidebars, sidebar on left, sidebar on right and both left and right sidebars are available.
- Categories and tags dropdown – adds categories, tags and author drop-down sorter before single products. The example can be found here.
- Number of columns – select the number of columns for single products on the archive WooCommerce page.
- Number of products per page to display – specify the number of products to be displayed per one shop category page.
Extra features

- Items appear effect – select the appear effect for the products.
Woocommerce single options
Adjust the default settings for your single products in this section.
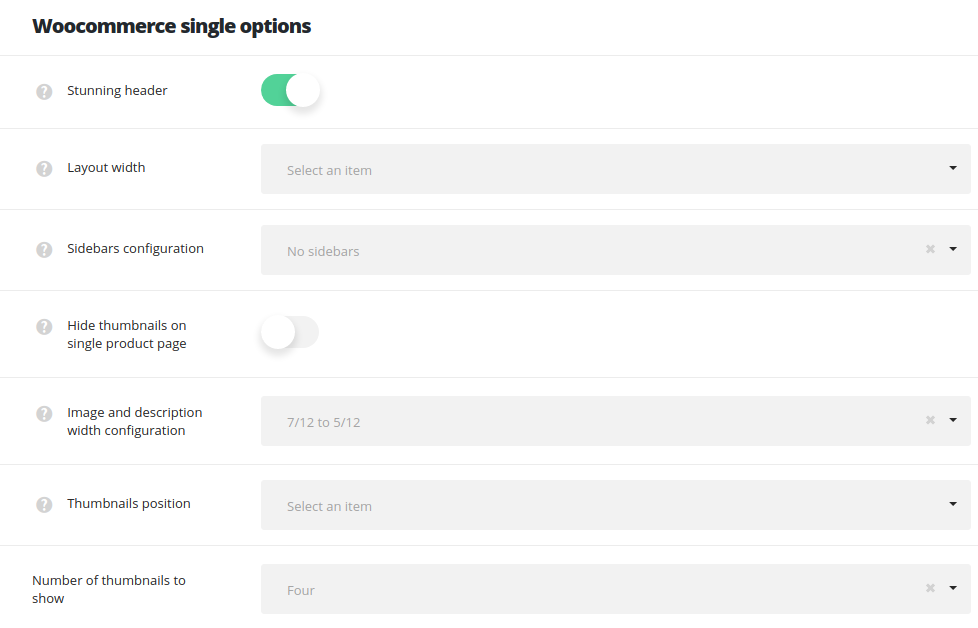
- Stunning header – switch it to Enable to have the stunning header on single product pages by default. It inherits the settings from
Theme optionsHeader optionsStunning header optionssection or you may overwrite them in single product editorStunning Header optionsmeta box. - Layout width – set the single product page content width. Boxed and full width variants are available.
- Sidebar configuration – set the sidebars to be shown on the single product pages. No sidebars, sidebar on left, sidebar on right and both left and right sidebars are available.
- Hide thumbnails on single product page – set it to Enable to hide the product gallery thumbnails on single product page.
- Image and description width configuration – select the proportions of the product gallery and description sections;
- 1/5 to 4/5
- 1,4 to 3/4
- 1/3 to 2/3
- 5/12 to 7/12
- 1/2 to 1/2
- 2/3 to 1/3
- 3/4 to 1/4
- 4/5 to 1/5.
- Thumbnails position – set the product gallery thumbnails position:
- Under image – the thumbnail images of the products will be displayed below the main product image.
- To the left from image – the thumbnail images of the products will be displayed to the left of the main product image.
- Number of thumbnails to show – set the number of product gallery thumbnails which should be visible on single product page.
Pagination settings
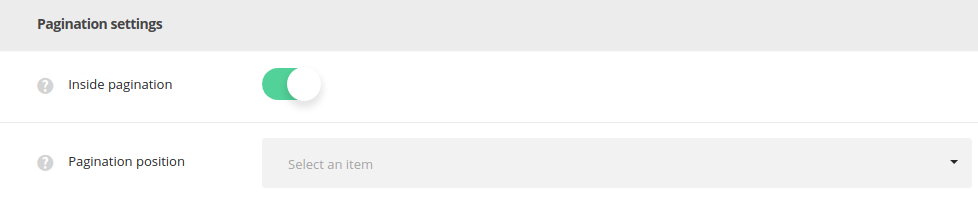
- Inside pagination – switch it to Enable to activate inside pagination between the previous and next product on single product page.
- Pagination position – select the position of the inside pagination on single product page. Fixed and Top variants are available. You can also disable pagination.
