Before creating the products you may create Product categories, tags, and attributes to organize your products.
They will help you to arrange your products into a certain hierarchy and will facilitate the navigation.
Product Categories
The most convenient way to group the goods.
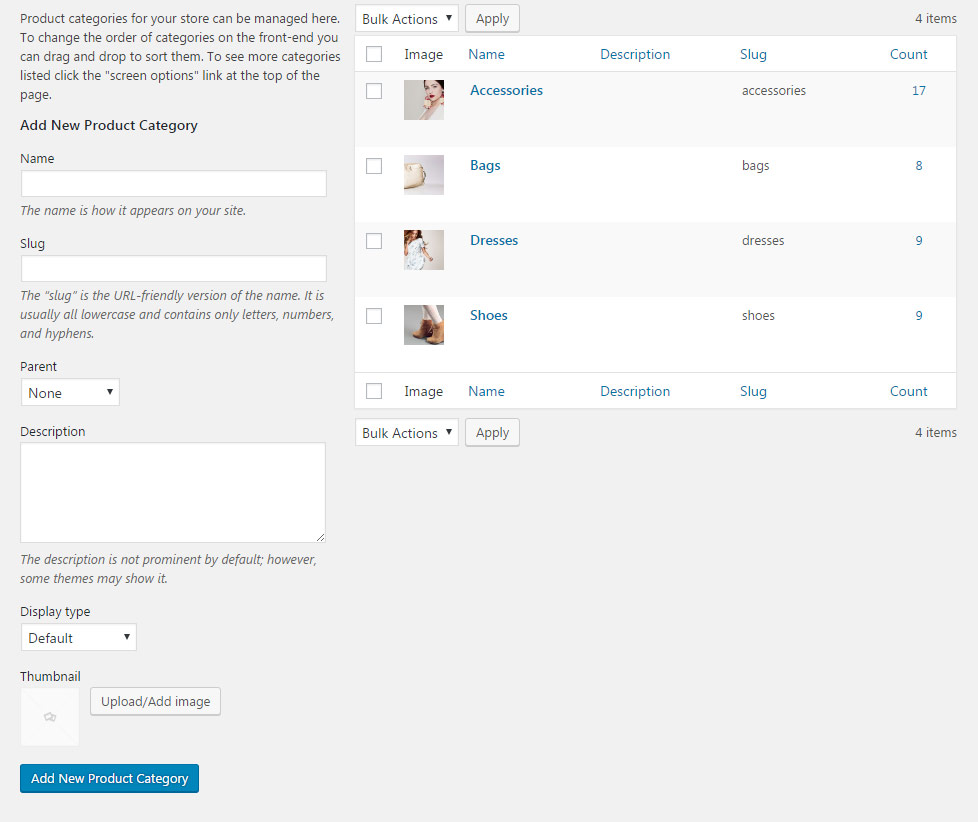
The Categories can be added in Products Categories section of admin panel.
To create a new Category for the products, check the short steps to be followed below:
- Name – add the title of the category.
- Slug – enter the title of the category in the URL. Leave the field blank to make Slug the same as the Name.
- Parent – you may also select the Parent category to achieve the hierarchy on the site.
- Description – you may leave this field empty, the description will be visible in admin panel only.
- Display type – select what content will be displayed on the base page for the category. Default, products, subproducts and both variants are available.
- Thumbnail – upload the image to be set as a featured image for the product category.
Product Tags
Tags allow to arrange the single products structurally and to facilitate the navigation.
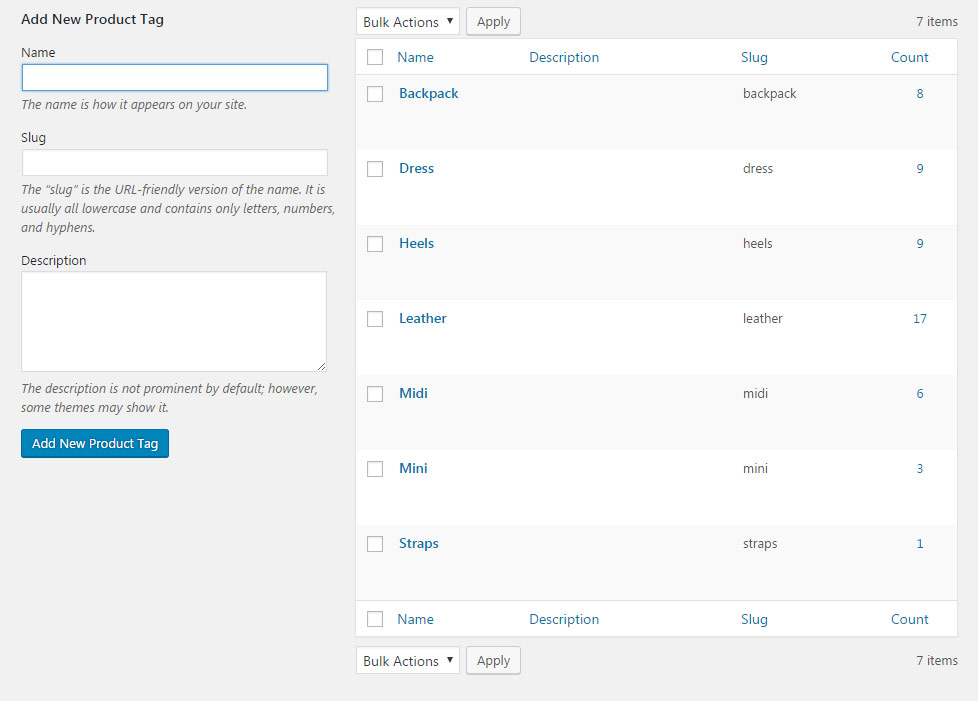
To add new Tag for the products, go to Products Tags section of admin area.
Check the step by step instruction on creating new tags for the products below:
- Name – add the title of the tag.
- Slug – enter the title of the tag in the URL. Leave the field blank to make Slug the same as the Name.
- Description – you may leave this field empty, the description will be visible in admin panel only, it is added for your convenience.
The categories and tags are both very importnat to have related produtcs displayed on single product pages, cart and checkout oages, since they are arranged in accordance with the tags and categorie assigned for each product.
Product Attributes
The perfect way to add extra information about the product.
They can be used for the Variable Products.
To get more information on the Products additional settings check the official WooCommerce documentation.
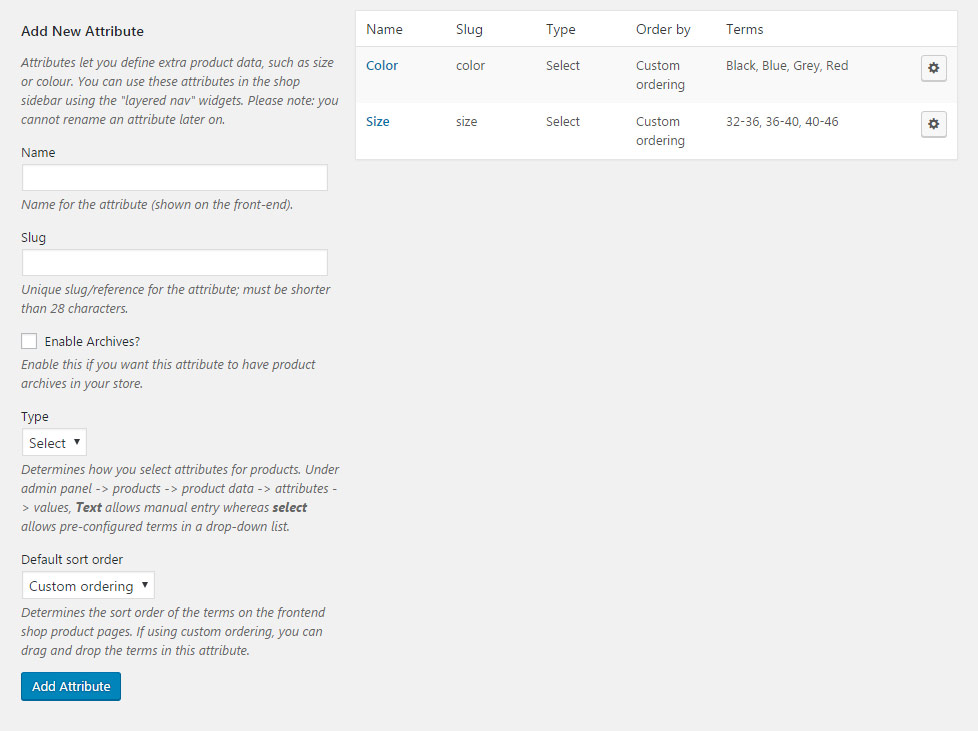
Check the step by step instruction on creating new tags for the products below:
- Name – add the title of the attribute.
- Slug – enter the title of the tag in the URL. Leave the field blank to make Slug the same as the Name.
- Enable archives – switch it to Enable if you want this attribute to have product archives in your store.
- Type – choose the way to select attributes for products in single products page. Under admin panel
ProductsProduct dataAttributesValues. Text allows manual entry whereas select allows pre-configured terms in a drop-down list. - Default sort order – allows selecting the sort order of the terms on the front-end shop product pages. If using custom ordering, you can drag and drop the terms in this attribute.
Product creation
Navigate to the Products section and Add new to start customizing new WooCommerce Product.
Assign the category and add tags in the corresponding meta boxes, if needed.
Also, add Product Image and Product Gallery for the product in the corresponding meta boxes.
Product Editor
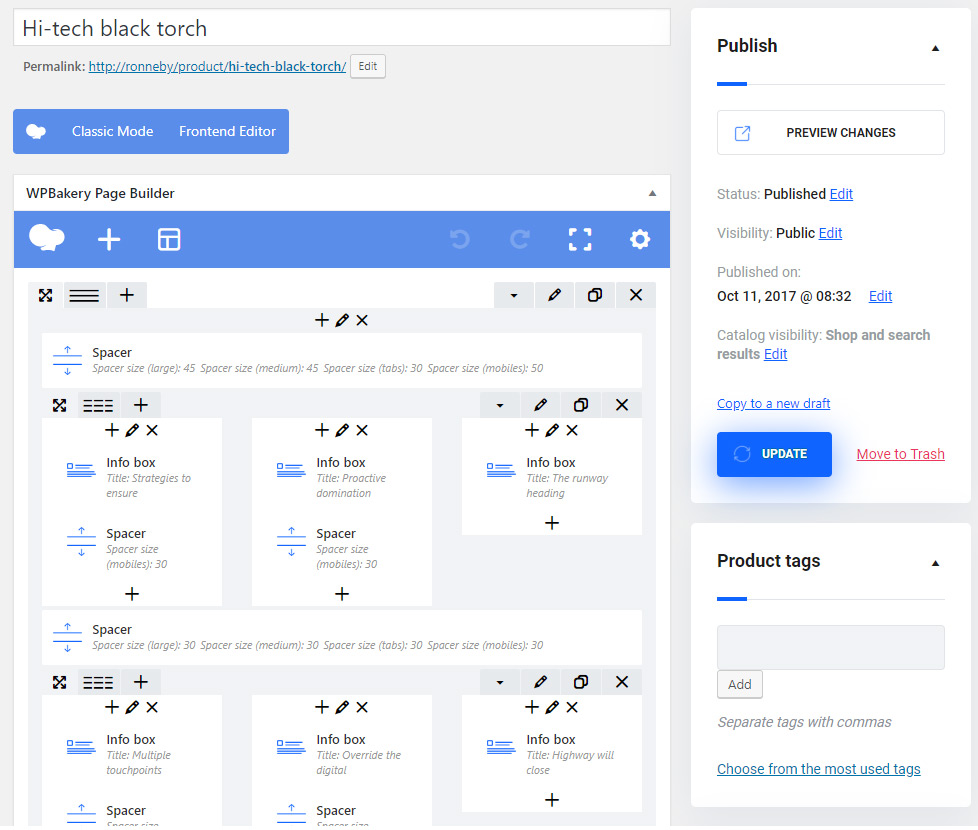
You may use this field to add detailed information on the product, description, and extra statements.
You may use the WYSIWYG editor, or enable the Backend editor and add Visual Composer modules.
This content will be placed below the product images.
Simple Product
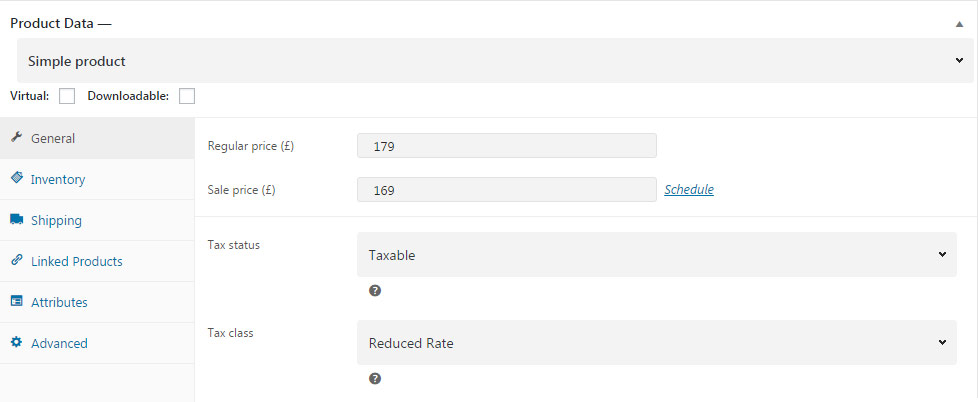
General
Set the price and SKU of the product.
- Virtual – select it if you want to create a virtual product.
- Downloadable – select it in case you want to create the downloadable products which will become available to download after purchase.
- Regular Price (£) – set the product price.
- Sale Price (£) – set the sale price for the product. There’s also an option to schedule the sale from and to dates.
- Tax status – set whether the product is taxable or it will include the shipping cost only.
- Tax class – select the type of the tax for the product to apply different tax rate for each of your products.
Inventory
Set the product availability in this section.
- SKU – type the unique ID of the product.
- Manage stock? – put the check mark at Enable stock management at the product level to display the Stock Qty on the product page and select whether you want to Allow Backorders.
- Stock status – select whether the product is available in stock or is out of stock.
- Sold Individually – enable this to only allow one of this item to be bought in a single order.
Shipping
Set the shipping methods for the product.
- Weight (kg) – set the weight of the product package.
- Dimensions (cm) – set the product sizes.
- Shipping class – assign the needed product shipping class from the dropdown list. More information about the Shipping Classes can be found in the WooCommerce documentation.
Linked Products
Add the products interaction and interchangeability in your shop.
- Up-Sells – products which you recommend instead of the currently viewed product.
- Cross-Sells – products which you promote in the cart, based on the current product.
- Grouping – select products from your store that share the same tags or categories as the current product.
You may find more information on the Linked products in the WooCommerce documentation.
Attributes
Add detailed information on the product.
- The Attributes added to the Products section will be displayed in this section. The Values of the global variable can be changed in the text field. You may also add more Values to it.
- Put the check mark at the Visible on the product page to display the attribute.
- You may also add Custom product attribute to the product. Type its Name and specify the Value.
You may use these fields to add extra information about the product, its manufacturer, composition and other details.
Advanced
- Purchase Note – enter an optional note to send the customer after purchase.
- Menu order – set the custom ordering position.
- Enable reviews – put the check mark to add the possibility to add comments to the product.
Variable Product
Create the product and add the possibility to select its variations.
To create the Variable product, select Variable Product in the Product Data section.
The product settings for simple and variable products are equals, except for the new section is added – Variations.
Note, that every Attribute (both general and custom added) have a new option – Used for variations. Put the check mark near it to be able to use the attribute in the variations.
Variations
Create different product kinds based on the same product.
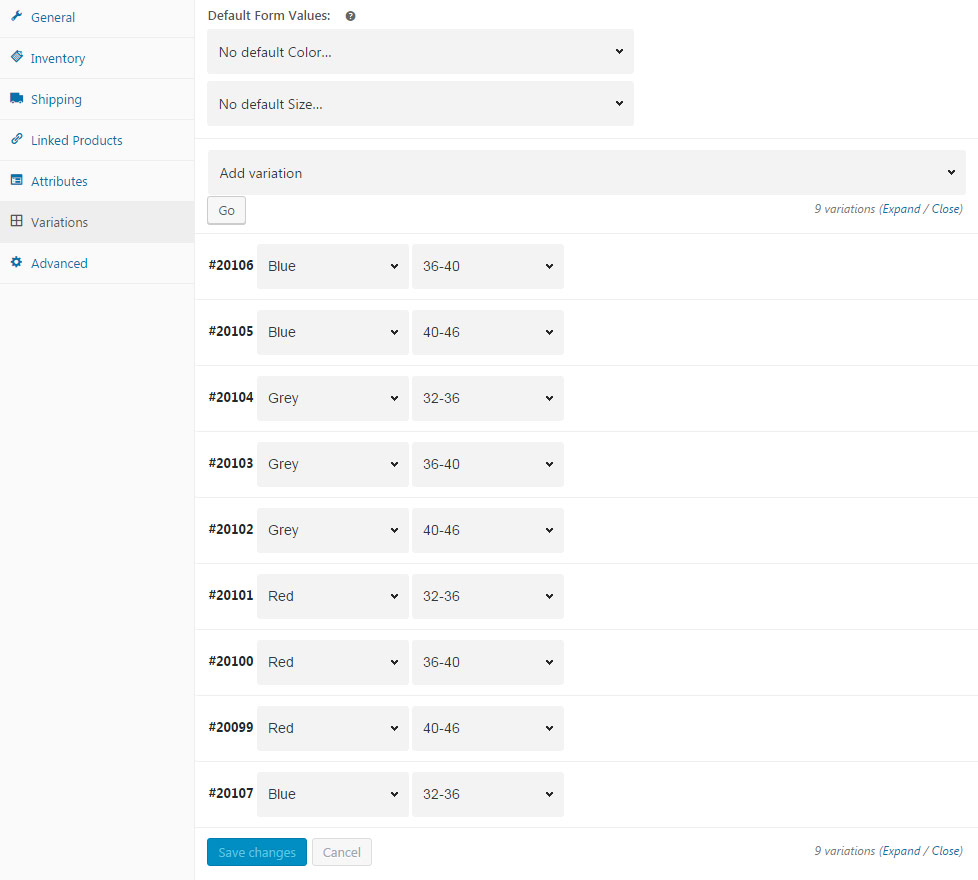
- Default Form Values – set the default selected variation on the product.
- Add Variation – select this option to add new product variation.
- Create variations from all attributes – generates all available variations. Note, you can generate 50 variations at a time.
After you create a variation you may proceed to its styling. - Upload an image – set the image for the selected variation thumbnail.
- Enabled – put the check mark to allow this variation be selected.
All the other settings are similar to the Simple Product and you can check them in the corresponding sections above.
In the meta boxes below, you can customize your single products displaying. These settings are inherited from Theme options Woocommerce Woocommerce single options section. Check the corresponding post for more details.
Using these section you may overwrite the theme options for each single product.
Additional options
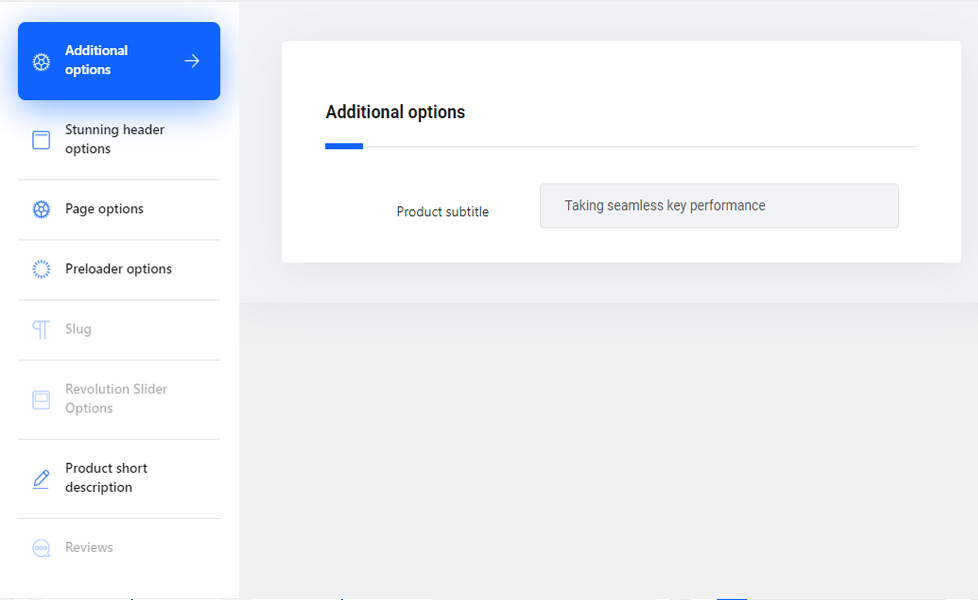
- Product subtitle – allows you to add the Product subtitle to the field which will be displayed near the product title on the inner page.
Product Short Description
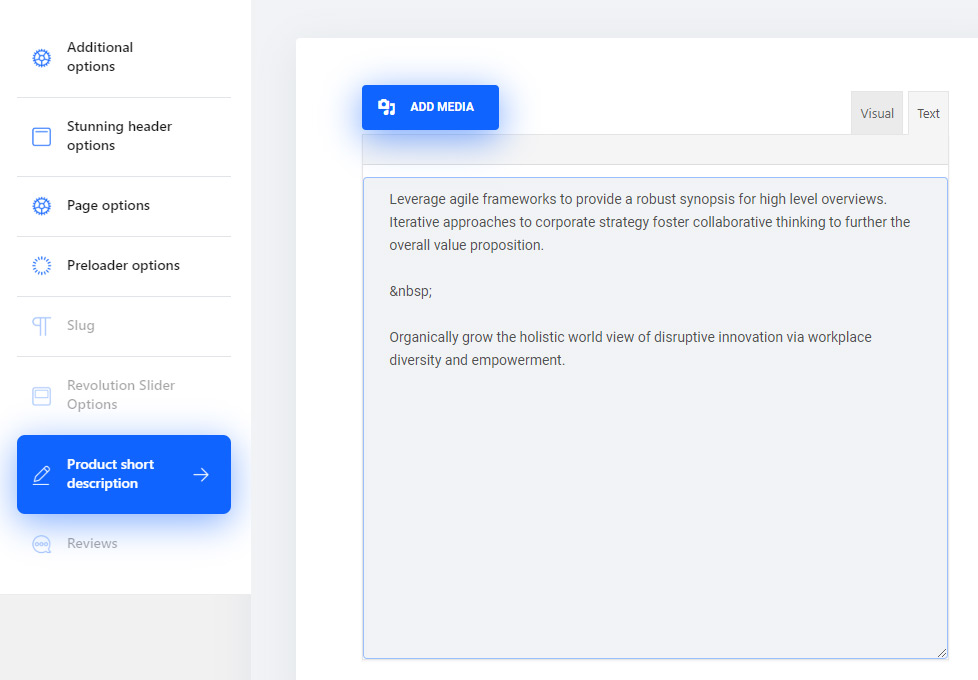
- Product Short Description – allows yo to add the description for your single product which will be displayed on the single product page below the product title and price sections.
Other meta boxes are the same as for any post type within Ronneby theme. More details you can find in the Single Page Creation post.
