In order to display posts in Blog posts module, you have to create blog posts in the corresponding section of the admin panel. Check the Blog post creation section of the theme documentation for more information.
You may check the examples of the blog posts module on the Blog posts module page.
General settings
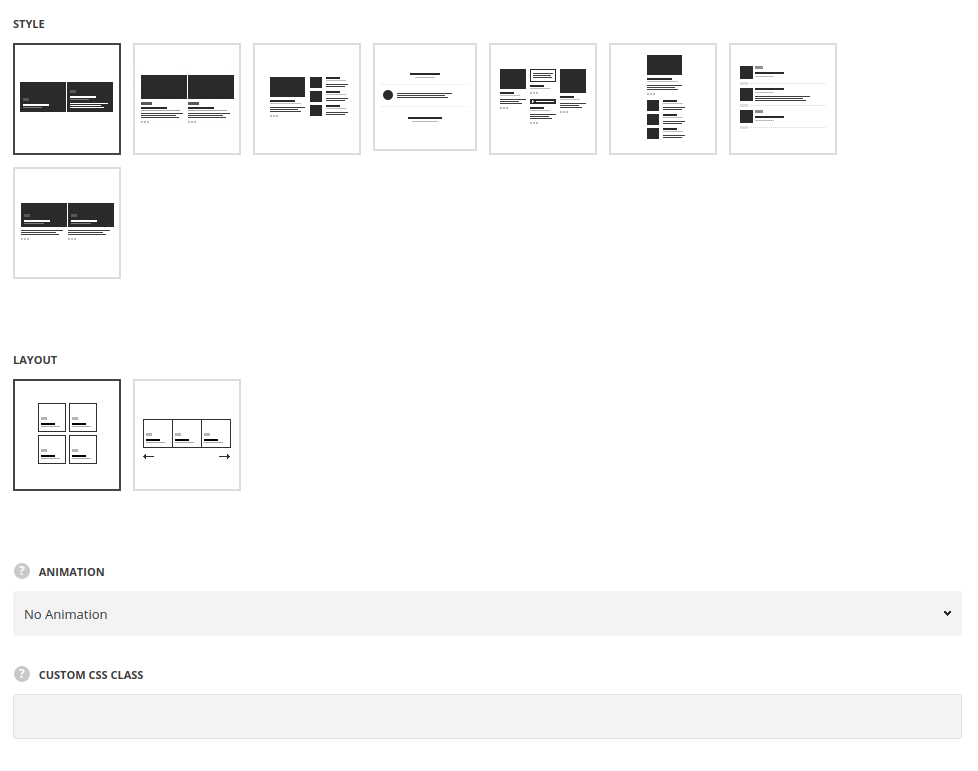
- Style – select the suitable style of the blog post module for your site. You may check the examples of the blog posts module on the Blog posts module page.
- Layout type – select the layout to be Grid or Carousel, for Advanced and Standard styles.
- Grid – the posts are aligned in the grid equal sections. The content is adjusted to take equal space and the thumbnails are cropped respectively.
- Carousel – the posts with a standard displaying are added into carousel slide.
Extra features
- Animation – choose between 14 preset animation effects.
- Custom CSS class – enter our own unique class name for the item – this is a useful option for those who want to create a specific style. E.g.: you can type custom-style class and then go to
Theme optionsGeneral optionsCustom CSS/JSCustom CSSfield and write your own CSS code with this class to get your own style.
Content settings
Posts settings
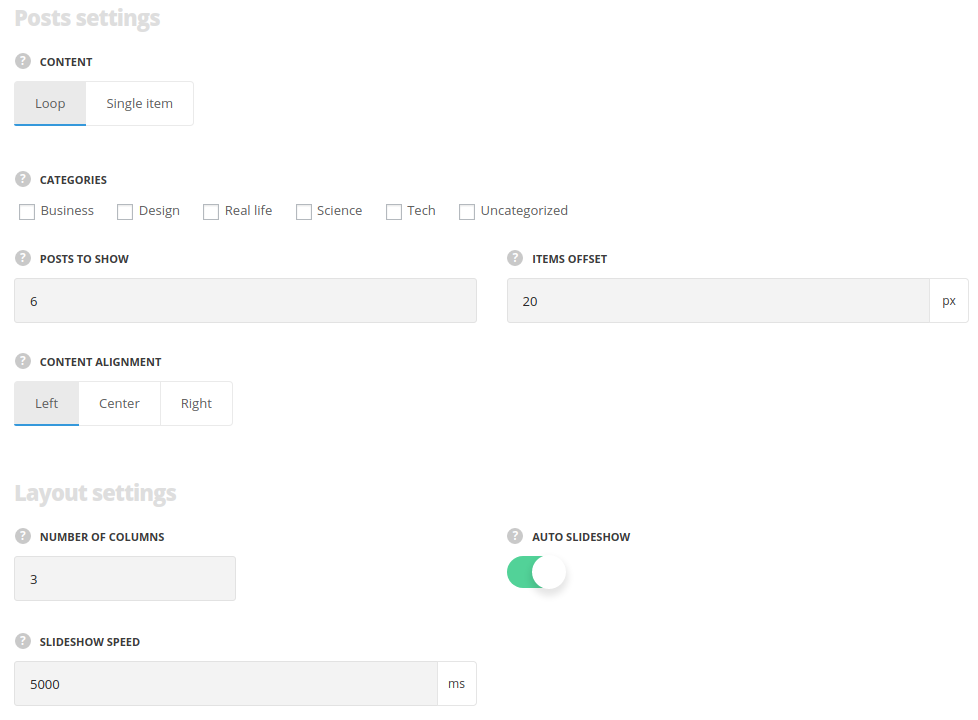
- Content – select the content to be displayed in the module.
- Loop – select this style to display multiple posts in the module.
- Categories – select the categories, you’d like to display the posts from. Posts of all categories are displayed by default if no category is selected.
- Posts to show – type how many posts to display in a module.
- Items offset – set the paddings between the items.
- Content alignment – select how to align the module’s content.
- Single item – select this style to display certain blog post.
- Post to display – select the blog post to display in the module.
- Items offset – set the paddings of the item.
- Content alignment – select how to align the module.
- Loop – select this style to display multiple posts in the module.
Layout settings
- Number of columns – specify the number of columns for the blog post items.
- Auto slideshow – set it to Enable to activate the autoplay for the slider. For Carousel content style only.
- Slideshow speed – specify the speed for the slideshow. For Carousel content style only.
Content elements
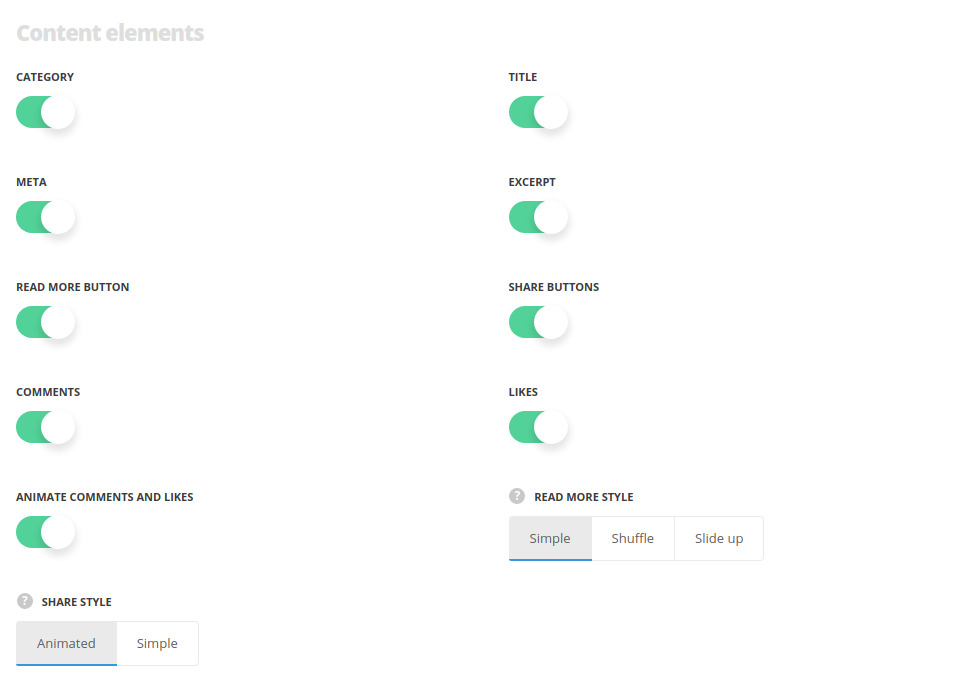
- Category – put the check mark to display category.
- Title – put the check mark to display title.
- Meta – set on to display author, date and category.
- Excerpt – set on to display short part of content.
- Read more button – enable the read more button, if needed.
- Share buttons – set on to display share buttons.
- Comments – set of to display the comments counter.
- Likes – enable the like button.
- Animate comments and likes – set on to make the comments and likes appear on hover.
- Read more style – select the style of the read more button.
- Share style – select the style of the share.
Thumbs settings
Set the size of thumbnails.

- Image width – type the image width of post thumbnail.
- Image height – type the thumbnail height.
Mask settings
For Advanced style only.
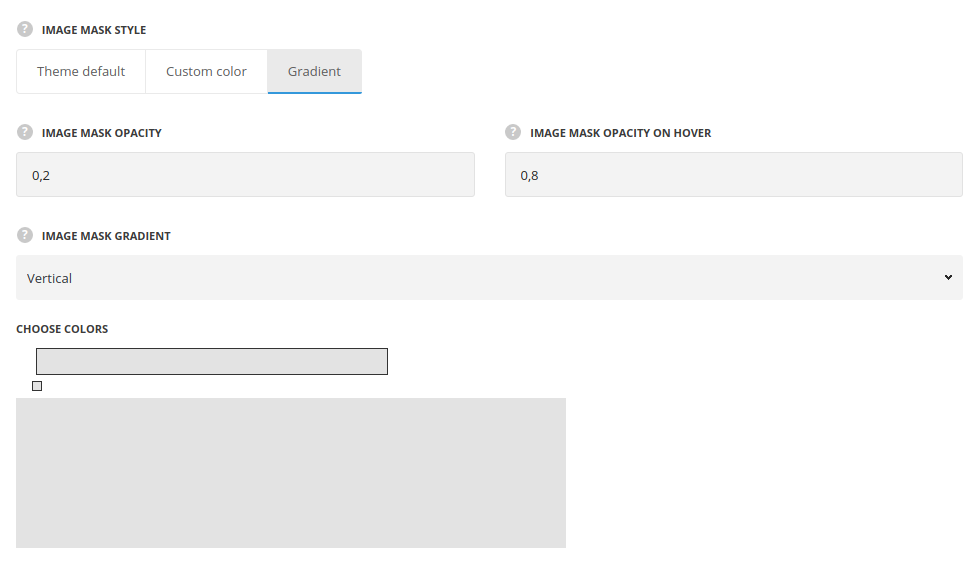
- Image mask style – set the image mask style for the idle and hover.
- Theme default – the settings will be inherited from corresponding settings in theme options section.
- Custom color – select this style to set simple color for the blog posts mask.
- Image mask opacity – set image mask color opacity for the idle state.
- Image mask opacity on hover – specify image mask color opacity for the hover.
- Image mask color – select image mask color. The default color is #000.
- Gradient – select this style to have gradient color on blog posts mask.
- Image mask opacity – set image mask color opacity for the idle state.
- Image mask opacity on hover – specify image mask color opacity for the hover.
- Image mask gradient – select the desired style of gradient: vertical, horizontal and custom styles are available.
Typography settings
Title typography
These settings are inherited from Theme options Custom typography Blog heading Typography.
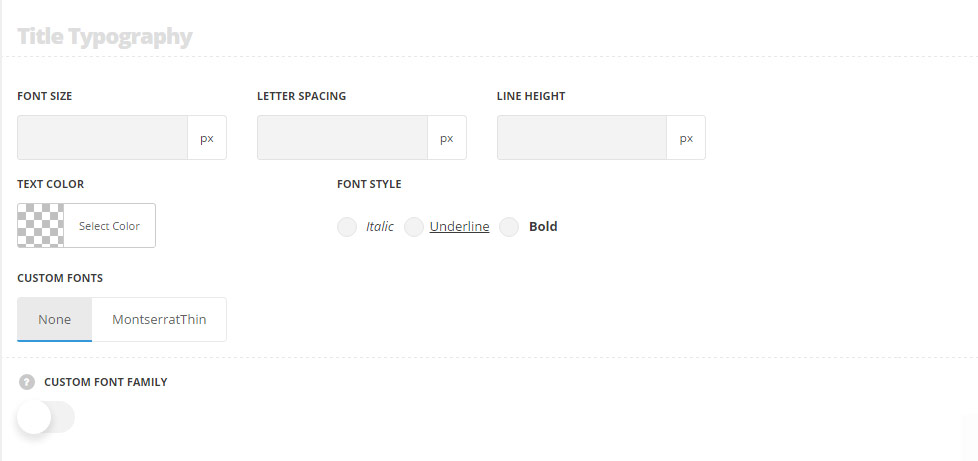
- Font size – set the font size you need to use in the title.
- Letter spacing – set the needed distance between letters.
- Line-height – set the needed distance between lines in the title text.
- Text color – set the color of the font.
- Font style – select the font weight and style (bold, italic) for the title.
- Custom font family – set it to Enable to use custom Google font.
- Font Family – select the font family from the drop-down list.
- Font style – select the font weight and style (bold, italic) for the title.
